Next step was to make the instrument panel and hood. I used 1/8 inch basswood and made the shape I wanted and and cov ered with thin plastic sheet. The thin plastic gave the appearance of thin sheet metal used in the full size. I added a few extra pieces of plastic sheet to simulate access panels and then added several small screws for visual effect, painted flat black and weathered. Next I needed instruments, not a lot to choose from and I knew that Vario had a decent selection of loose instruments and avionics. I was really dreading on having to wait on a overseas delivery and remembered that Mark Smith of Vario/Heliworkshop had added Vario inventory to his shop and with Mark being my “go to guy” for Vario I gave him a call. He had exactly what I needed in stock and shipped it out immediately. Once I chose the panel layout I weatherd the instruments and glued them inplace, added a few switches and other detailing.


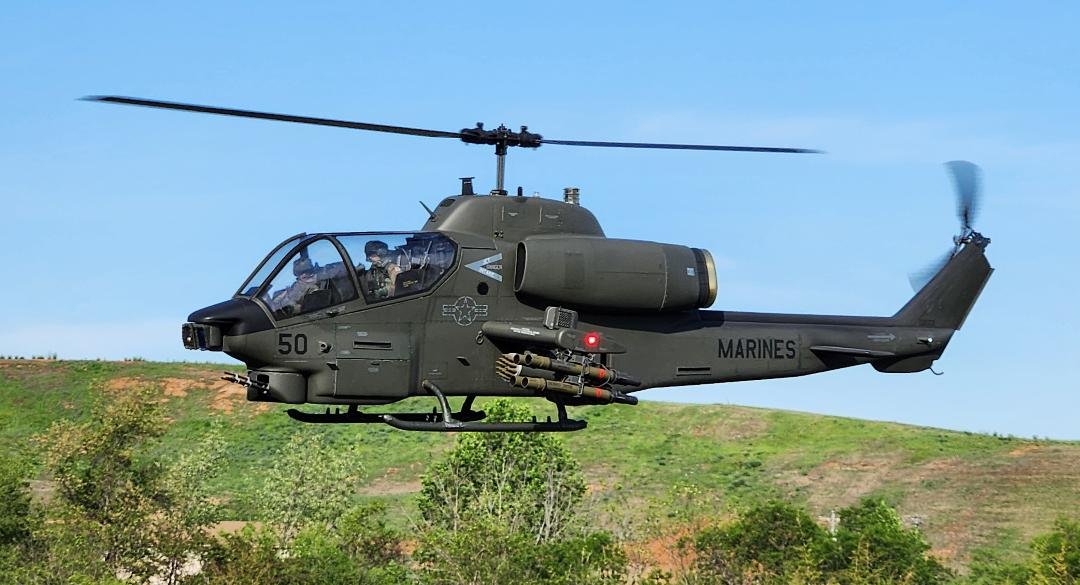
Heli-Factory 1/6th scale Super Cobra
I will be adding updates to this page as the Cobra is being built.
I had an oppertunity to aquire this model which was purchased in 2018 but never finished. It included the Heli-Factory mechanics, Hacker motor and Kontronik 200 ESC, a pair of the widest cord blades that I have ever seen at 5 1/2 inches. The woodwork had been installed as well as the Heli-Factory tail rotor flex drive. The owner had test flown the model then set it aside until my purchase. I completely disassembled the Cobra and with me flying Spektrum I removed the prior owners Futaba and Jeti electronics. I added my Spektrum electronics and reinstalled the mechanics for a test flight before again removing them prior to preparing the fuselage for cockpit and other details and beginning the long process of sanding, priming and adding rivets. I have a set of basic parameters that I use in setting up ALL my models including the programming of the Bavarian 3X. I use a digital tachometer to set my headspeed, for this first flight I used 850 as a starting point. The model lifted smoothly off the ground, I had a small vibration which I’m sure was from a blade being slightly out of track. The two flights I made were uneventful and very rewarding as I expected from a Heli-Factory model. I will remove some expo from the radio and track the blades. I am going to increase the head up to 950 to find which flys best. Once happy I will start building the cockpit.
The first thing to accomplish is to start scratch-building the cockpit ( nothing readily available for this model ). I wanted the cockpit to be one unit and easily removable for changing the batteries. I started by fabracating the “tub” which would hold the complete cockpit. I used 3/16th “lite ply” to give strength and will later cover with thin plastic for detailing. With the introduction of 3D printing I have gotten spoiled and had almost forgotten how much fun scratch-building could be. I love 3D printing but do not have the knowledge or desire to learn these skills. After building the tub I made the front instrument “hood” out of thin plastic and started getting the pilots positioned and building other needed details. The armor protection plates were made from “basswood” and covered with this plastic. I did the edging with plastic strips and added a few small screws for detailing and applied a little weathering. Next is to add the instruments, radios and switches along with all the other cockpit details common to the Super Cobra cockpit.


I wanted to build and finish the outboard TOW rocket launchers I had received from SCALE PRINT. These launchers are highly detailed with lots of intricate pieces. I did a “test fit” and everything fit perfectly so it was time to paint. After painting everything was weathered and assembled. Next was to assemble and finish the 2.75 rocket launchers that were printed by Patrick Leong at Minimatronix. I researched the 2.75 launchers to get the correct dimensions and then reduced to 1/6th scale. I ordered the thin wall aluminum tube from Aircraft Spruce and gave Patrick the inside diameter and he printed the front and rear pieces along with individual rockets to ease painting. I added rivets to the aluminum tubing and then painted a flat OD green, the end pieces were painted in aluminum and the rockets were painted a slightly different shade of OD green. After assembly everything was weathered.


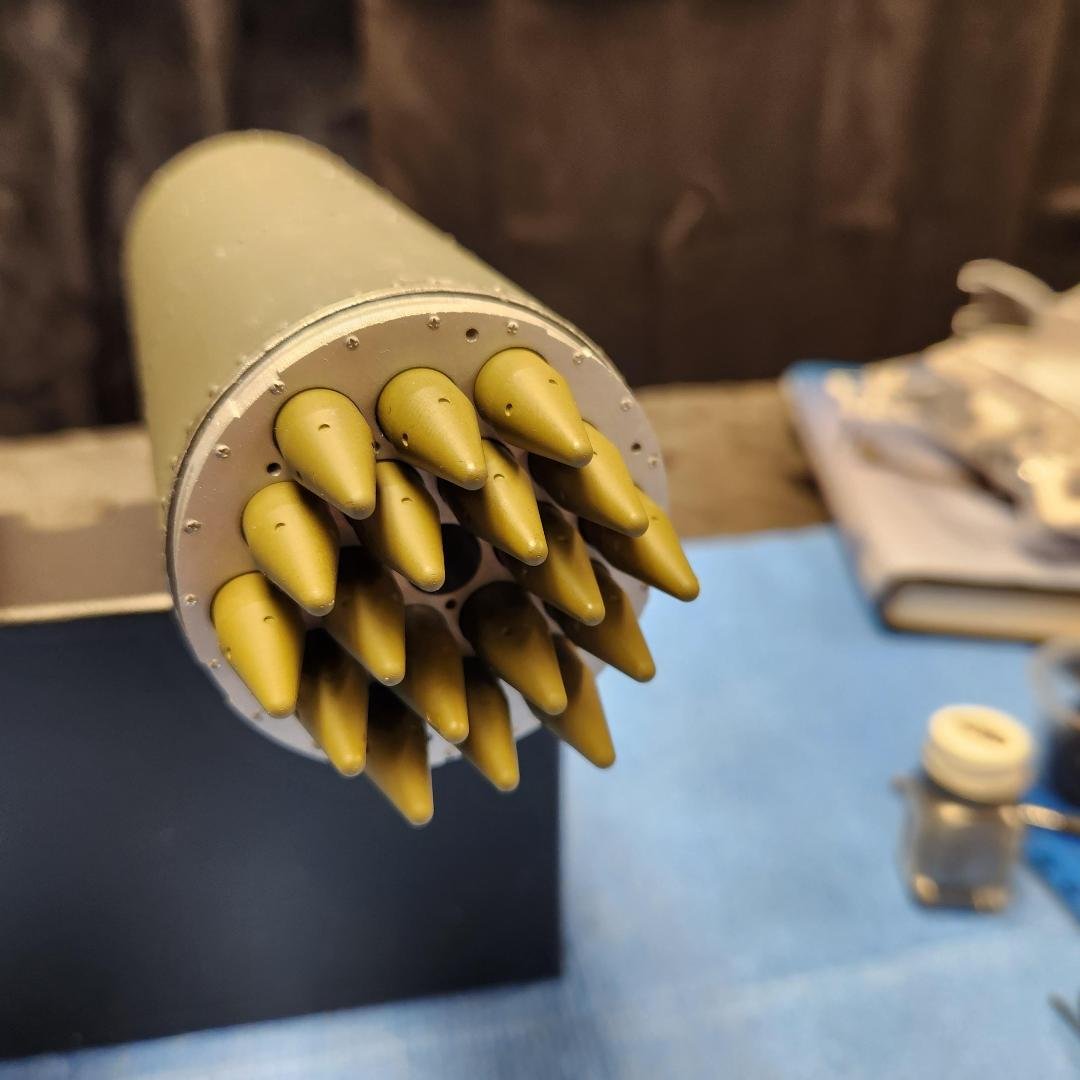
Now that the 2.75 rocket launchers were finished I had to decide how to mount them to the pylons. It would be easy to just make a mount out of square stock but it would not look the part. I needed something the looked scale but also be strong enough to support the weight. I decided to use “angled aluminum” and build a scale looking cover around it to hide the aluminum. I then added some scale detailing, painted, a little weathering. To complete the scale looks of the rocket launchers I ordered the nomenclature decals from TailoreMadeDecals. They are not the correct markings for these rockets but added the effect I wanted. I needed to make a strong support for the wing pylons and did this by installing a carbon fiber tube under the mechanics and then running a smaller carbon fiber tube which will run from tip to tip through the pylons making a very strong way to support the weight of the pylons with the launchers. Once the launchers were finished it was time to move along to getting the fuselage ready to prime and start adding the rivets and other detailing.


I had almost forgotten the sound system. I wanted to fabricate the mounts for the speakers before painting. For anyone out there building one of these Heli-Factory Super Cobras they have the PERFECT place for a sound system, right at the exhaust outlets where needed for the most realistic sound. I am using a ModelSoundsInc “Shockwave III” system with two four inch speakers which put out a lot of volume and a GREAT sound. I used 1/8th inch lightweight ply and everything fit perfectly.


I have painted the fuselage with Milspec USMC Dark Forest Green which is made by Gallispie Coatings which I had them put in spray cans. I use this method on my military models and when spraying flat colors it works well for me. No paint guns to fool with, no paint booth required ( if you choose the weather conditions correctly ) and NO mess to clean up. I would never use this “spray can” method on a large model and gloss paint. I knew after the first coat of paint all the screws and rivets were well worth the effort. I let the paint cure for about 72 hours and then started applying the nomenclature which I purchased from TailorMadeDecals.com. These are “waterslide” decals but different from other waterslides I have used in the past. These are the thinest decals I have ever used and require care when applying. Just follow the instruction and they look wonderful and as close to using stencils as you will find.

The paint was still too glossy to suit me so I shot a light coat of Testors “Dull Coat” and was very satisified with the results. Next was to apply the weathering using a lot of thinned black wash and “dry brushing” aluminum colored paint. I then shot a good dusting of thined Flat Black on the tail boom to simulate exhaust soot. I finished it off with a good dusting of “Dull Coat” and headed to the field for some flight time.


Next I needed flight controls. I knew from past experience that shapimg the cyclic grips were a lot of time and I needed two exactly the same. I contacted Patrick Leong at Minimatronix and he agreed to 3D print me exactly what I needed and headed them my way. I started building the collective controls using aluminum tubing, plastic and wood. I use masking tape to simulate the “cork” used on the grip surface by Bell helicopters. when finished I added a few switches using aluminum tube and plastic rod, painted flat black and weathered.
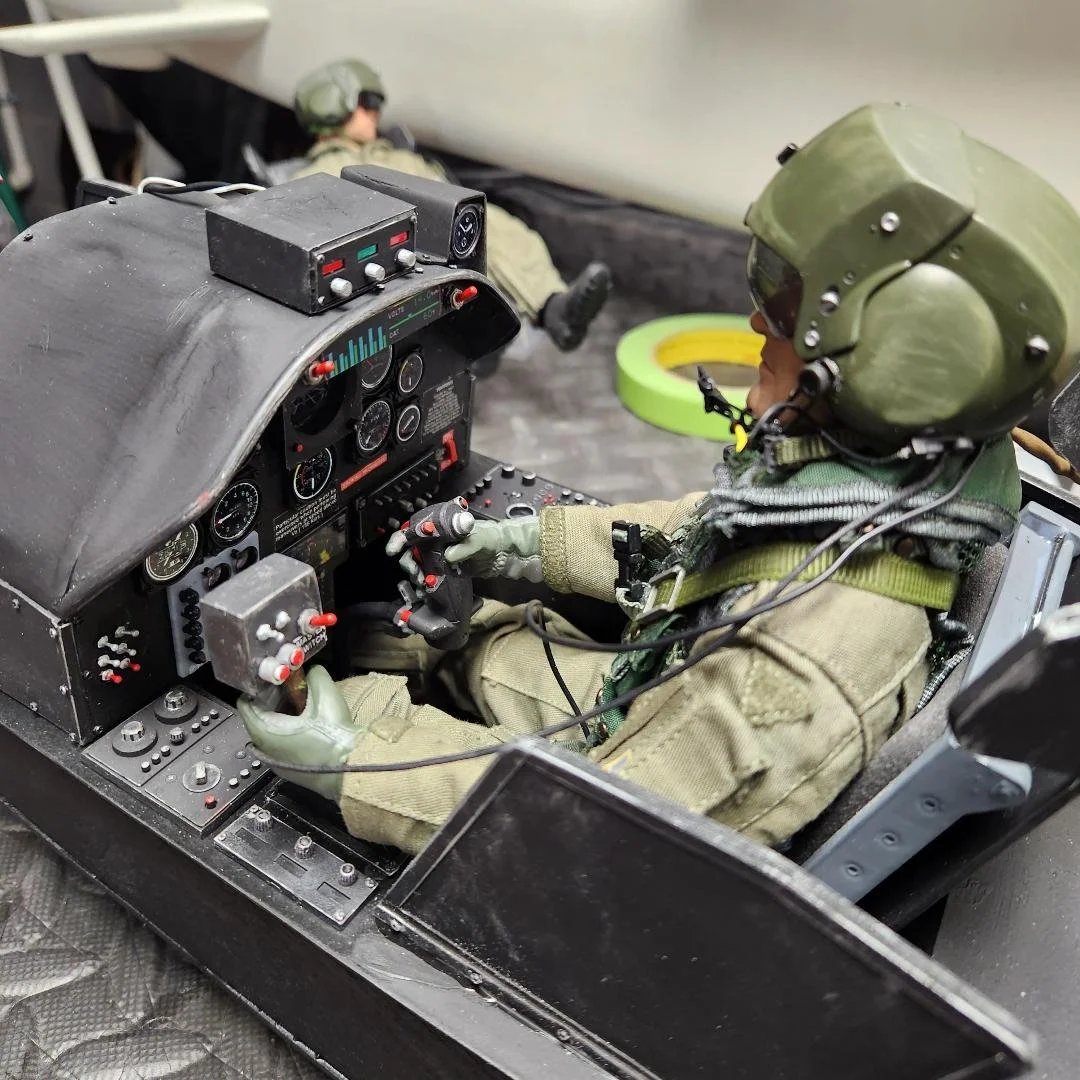
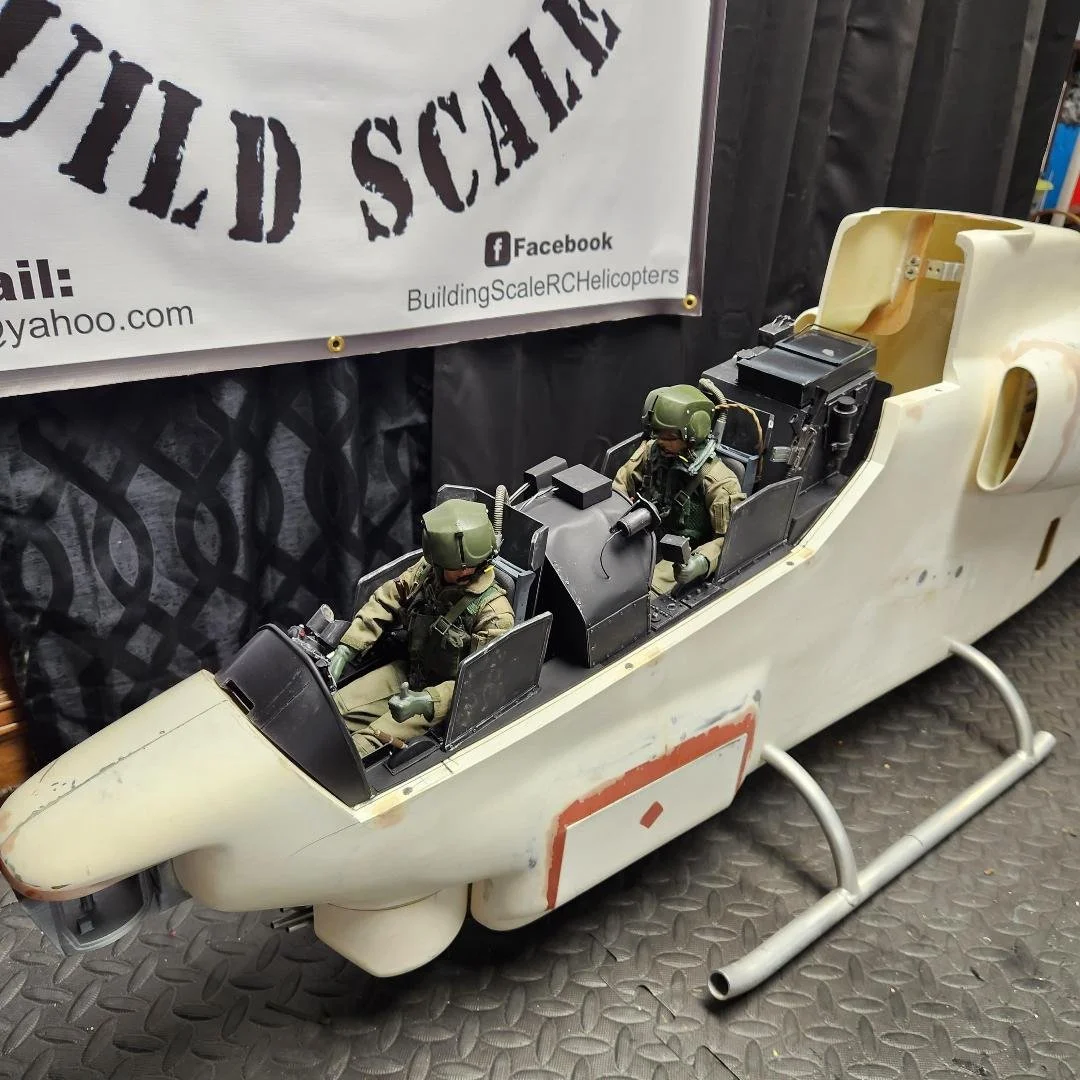
Now to the pilots and accessories. With this Cobra being exactly 1/6 scale it gives me the oppertunity to use my favorite outlet ‘ BlackOpsToys” for realistic looking figures. i have always said that the pilot will “ make or break “ a nice scale model .These figures are the best I have found and if you shop the site carefully you can have a VERY nice looking, realistic piliots which will look better than some of the readily available pilots on the market and spend a comparable amount of money. I purchase the bodies separately from the “clearance bin “ and add the head sculp I want along with the necessary gloved hands and footware and any other needed scale items that might be in their inventory. I get the flight suits from Ebay. I needed a couple of modern era attack helicopter helmets. I knew with this Cobra I wanted the best looking flight gear I could find seeing as I went to such pains building the cockpit. I searched all the outlets I could think of but could not find the HMD helmets used in the Apache and the later model Super Cobra. I knew I had seen them on GI Joe action figures in the past but quickly founf out that perticular “Joe” was now a collectors item. I ran across a company called “ MilitaryPresentations.com” that cator to miniture military collectables. Yes, they are expensive but Im building a twenty thousand dollar model and WAS NOT going to put a less than perfect pilots in my cockpit. Lots of opinions on my Facebook group page “BuildingScaleRCHelicopters”. Had I been building this model for competition I certainly would have used the more common flight helmets found in the Whiskey model Cobra BUT I’m NOT building for competition and building more for “eye appeal” so I chose the better looking helmets. My good friend Mark Burks who is owner of Micro Designs offered to make me one of his 4-point harness sets with OD Green belts. Everything has went together very well and I am quite pleased with the finished cockpit. Here are a few pictures at the stage I am at. I still neeed to add a few minor details to be completely finished.


I have finished the cockpit and am ready to move on to getting the fuselage ready for primer and detailing.

The time arrived to start detailing the fuselage. I primed with a “high build primer” , followed by a light sanding with 400 grit sandpaper to smooth out ant rough spots. Got all my necessary items togehter for the task at hand and started drawing line. I had a few pretty good referance pictures which helped tremendously. it did not take long to realize that the AH-1W Cobra has a LOT of screws instead of rivets because of the number of inspection and maintenance panels. I use VERY small screws ( .1 and 1.2 ) for this task, lots of holes to drill and screws to screw, lol. A few days required with several hours each day but after applying the paint Im sure the results will be well worth the effort.


